|
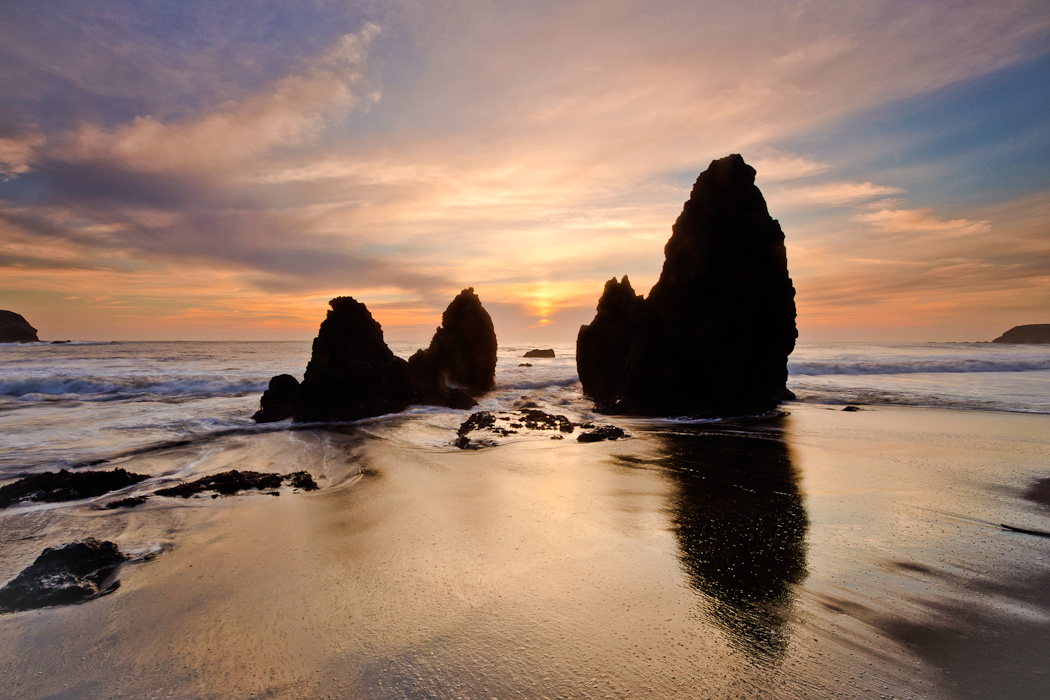
| Rodeo Beach, Marin County, California |
A question came up a while back about workflow for HDR, and using a common editing program like Adobe Lightroom with it. I use Lightroom on all photos, and Photomatix 4.0 for HDR on a few with particularly challenging lighting conditions. Here's the approach that works extremely well for me.
I shoot in RAW and find Lightroom to be an excellent way to process files for many different shooting scenarios. The key is Lightroom having been designed from the start to facilitate operating on multiple files, such as its ability to copy development settings from one edited file and apply them to any similar images in the batch you're editing. It's also easy to use, so you don't need a bunch of obscure keyboard commands and you don't need to record scripts like Photoshop users always seem to be doing to create a given effect. At the highest level, my approach is this: for the images that I consider HDR potentially useful for, I simply perform the most basic adjustments like white balance adjustment, dust removal and some noise reduction, then convert these low noise, color-corrected images to JPG prior to performing HDR techniques. Using JPG images as input to the HDR process is exactly the approach recommended by HDRsoft for their Phototomatix software.
 |
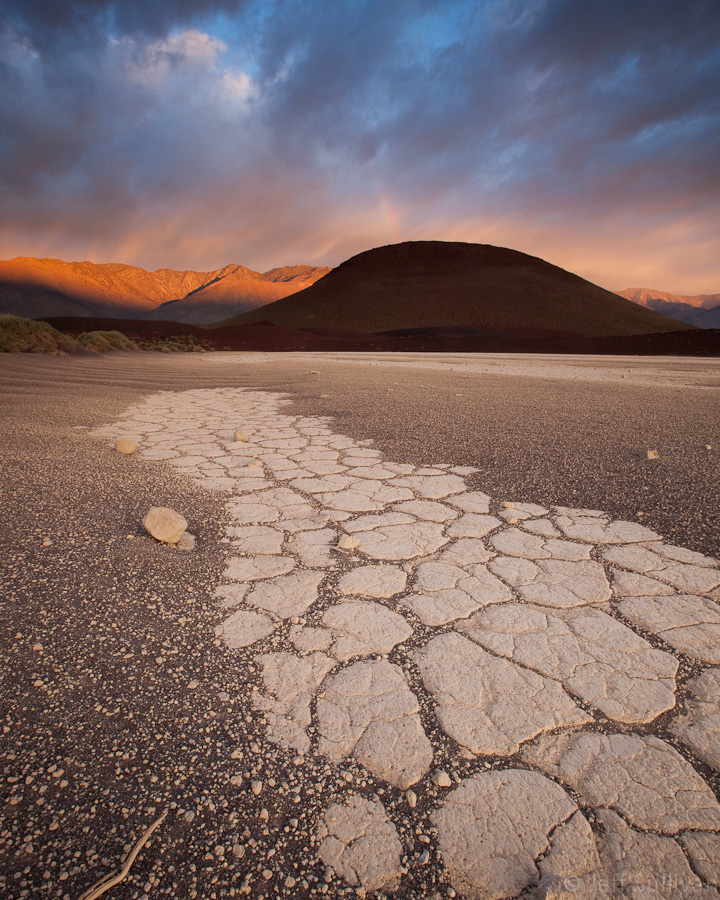
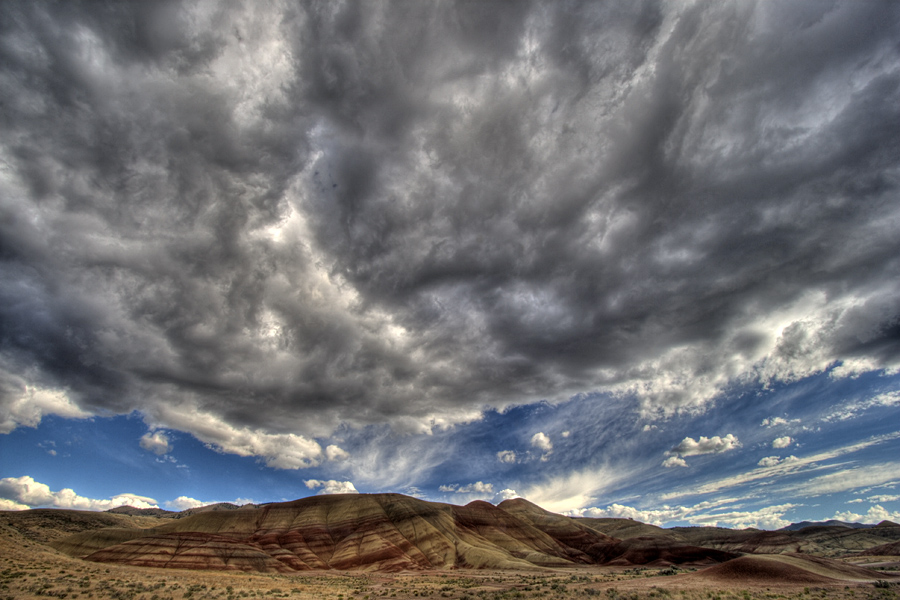
| Single exposure HDR. Deeth, Nevada |
To cover the entire workflow from shooting to finished file in more detail, first I shoot automatic exposure bracketed images nearly all the time... not to get the best exposure, but to get the best contrast and color with an acceptibly low level of noise. One dirty little secret of digital photography is that sensor performance is not necessarily consistent across different exposures. What I'm trying to say is that three different exposures cannot simply be exposure-corected and turn out identical, even in the most basic sense like contrast and color. Just as was the case with film, the darkest exposure will almost always look best in color and contrast, the most likely to be good straight out of the camera (with minimal brightness adjustment), but it will require some "darkroom" adjustment of exposure, brightness and so forth, and in the end it may have too much noise in darker areas of the image. I do have a high success rate though, and at the very least it provides a reference image to try to edit the next best exposure to look like. It won't always be as straightforward or easy as you might hope, but at least you have a nice high bar to shoot for. Test this for yourself. Try shooting 3-shot exposure bracketing sequences in challenging sunrise and sunset lighting conditions, and adjust all three to see which looks best. Play with different bracketing and exposure compensation settings to see what works best on your camera.
On my Canon 5D mark II my default spacing is +/- 1 1/3 stops between exposures, but I also bias the whole sequence 2/3 stop darker (using exposure compensation at -2/3 EV). Therefore I end up with exposures a -2 EV, -2/3 EV and +2/3 EV. My Canon 40D doesn't quite have the same dynamic range nor does it have noise levels so low, so I may use -1/3 exposure compensation and shoot an Automatic Exposure Bracketing sequence of +/-1 stop. Either way, I examine the results and adjust my approach to the shooting conditions.
 |
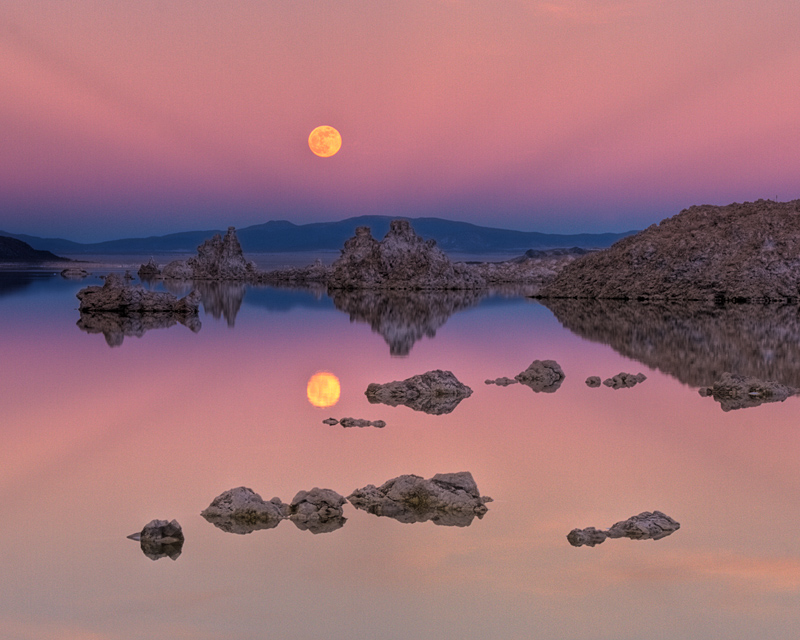
| 3-exposure HDR. Sunrise rainbow, Eastern Sierra. |
Having multiple exposures and the ability to choose HDR later if I like is a benefit, but I've found that by having better single exposures and rarely having blown out areas, especially in my best, darkest exposure, I can rely on HDR a lower percentage of the time simply to get a useful result. In fact, not having to rely on HDR as a crutch in my typical daily workflow frees me up to consider it in much more selective cases, to achieve much more advanced goals like mixing together long exposures of different lengths. (A range of shutter speeds is particularly useful with flowing water, to blend in different textures.)
Knowing that I'm using HDR for texture affects my shooting choices. For example, I may tune my bracketing sequence to provide three specific textures to flowing water. The speeds I require very depending upon how fast the water is moving (waves vs. streams vs. waterfalls), with different ranges of shutter speeds useful for different water speeds (such as different waterfall heights).
So my workflow starts with a RAW file in Lightroom receiving basic adjustments and getting saved to JPEG. Then Photomatix 4.0 does some initial processing and shows previews of how the result will turn out using something like 8 different techniques. This new feature makes it easy to pick one of the more natural renderings, one of the more unreal ones, or take over and fine tune the settings to get what you want. When done with the HDR processing, I save a 16-bit TIFF file.
 |
| 3-exposure HDR. Mono Lake, California. |
As good as Photomatix 4.0 has become for facilitating your pursuit of a certain style of result, I still find it critical to run the TIFF file back through Lightroom for fine tuning. While HDR changes exposure around a scene in the highlights and shadows much like our eyes might, our brains reconstruct the scene in our minds with full impact of the bright shadows and dark shadows. HDR has no such interpretation step, so it can leave an image looking far too "flat". Approaches such as Tone Mapping are an attempt to restore some emphasis to the edges of light and dark areas, but such an approach with a single strong tool like that often leaves an image overcooked. Instead, try applying your changes very lightly in your HDR tool, then go to a full-featured editing tool to use its full power to restore a realistic look.
In Lightroom go to Library mode, simply hover your mouse over the folder name where the new TIFF files were saved, and (on a Windows PC) your right mouse button will reveal a menu with the Synchronize Folder commmand which will go find your new files and import them into Lightroom so you can make fine tuning adjustments to color, contrast, vignetting and so on.
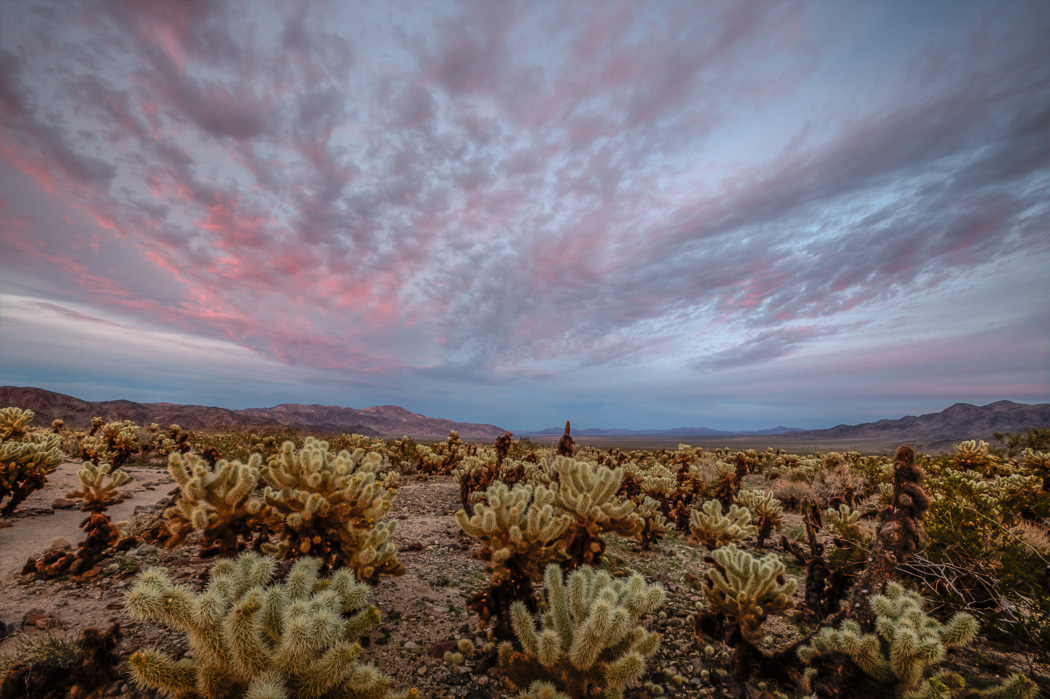 |
| 3-exposure HDR. Joshua Tree National Park. |
If you do the best you can post-processing the HDR in Lightroom and like some of the characteristics of the result but still don't think it's entirely realistic, you still can use that to your advantage. Go produce your best single exposure edit in Lightroom on a single file, then bring both the HDR and single exposure result into layers in Photoshop (or Photoshp Elements), and blend them. I experiment with that maybe once a year when I get access to the latest Photshop trial software, but I prefer to spend my time shooting rather than in fromt of a computer, so Photoshop isn't in my workflow (or installed on my newest computer) at the moment.
For anyone not using Lightroom yet, you can download a copy at Adobe.com and use it in free trial mode for 30 days. The latest Photomatix 4.0 is useful to revisit if you tried or currently use a prior version. It's available at HDRsoft.com (it adds watermarks to your images, but if you buy a license later you can easily remove the watermarks, at least from the processed TIFF files output by Photomatix).
I have an HDR set here where you can see how various combinations of Lightroom and Photomatix have produced various results over the years:
http://www.flickr.com/photos/jeffreysullivan/sets/72157622008543219/
 |
| Wacky tone-mapped HDR from an earlier version of Photomatix. |
Now that HDR has been on the market for a few years, it seems like there are many people who didn't like its early output, and there are others who did and use it all the time. The assumption seems to be that you either like HDR or you don't, it either worked for you or it didn't. However, there's a growing third camp of users who were able to wrestle HDR into submission and use it lightly in a realistic manner when useful, and perhaps create something wild from time to time as well. My opinion is that Photmatix 4.0 is far enough ahead of past versions in functionality and ease of use that it is worth a try, regardless of what you may have thought of HDR software or results in the past.
If you decide to buy Photomatix HDR software, I do recommend the version with an interface to Lightroom and Photoshop, to give you the most efficient workflow. You can get a 15% discount by using the coupon code
JeffSullivan when you by it from its publisher HDRsoft:
http://www.hdrsoft.com/order.php