 |
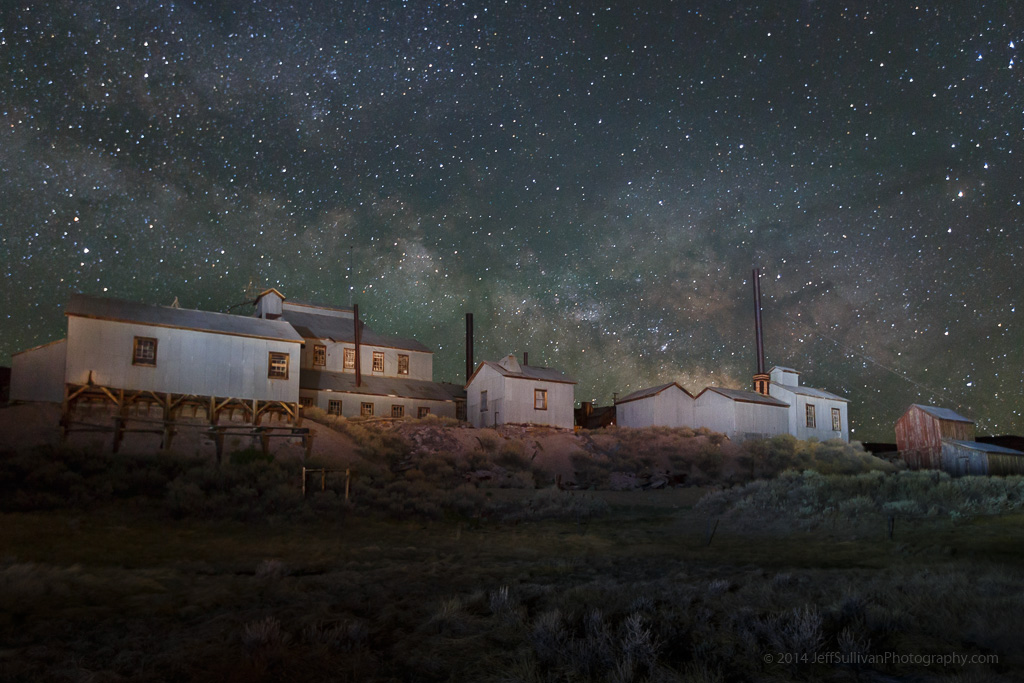
| Milky Way over Bodie's Standard Mill |
Photography has always involved multiple steps, with exposure being only one part of the equation. In the days of film, the darkroom enabled additional influence to be applied during development, and then again during printing. Unless you were using a Polaroid camera, there was no such thing as "straight out of the camera." Maybe you trusted someone in a drug store to do your developing and printing for you, but that wasn't an optimal situation and that certainly doesn't mean that no adjustments were made. For the most part, the entire concept of "straight out of the camera" is a myth that is best set aside as soon and as thoroughly as possible.
 |
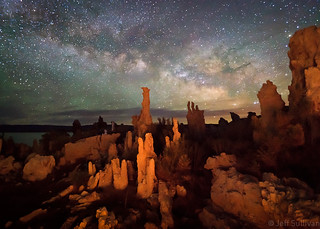
| Milky Way over Mono Lake tufa formations |
If you find a dark place outdoors to shoot and you can make out stars and the lighter, more dense band of the Milky Way, a little postprocessing can get you a lot further. As with my previous blog post you need to shoot on a tripod, using manual aperture and manual focus. Having your long exposure noise reduction turned off is not critical since we're dealing with single exposures for Milky Way shots.
 Shoot with your widest focal length lens to minimize star movement in the field of view, have it opened to its widest aperture to minimize exposure time. You may still have little enough light that you shoot at the longest exposure time (generally 30 seconds) or you may need to shoot in "bulb" mode for a longer time in order to get enough light. Always shoot in RAW mode so you have far more adjustment capability in post-processing software.
Shoot near the date of a new moon, so there is as little light pollution as possible. The last thing you need to know, probably the most important thing during planning your shot, is how to predict when the most intricate, dense, bright center of the Milky Way is in the night sky! In Summer the sun is up roughly 2/3 of every day, but the Milky Way crosses the sky in the night. The center of the Milky Way is towards the constellation Sagittarius. You can look up the dates when Sagittarius is high in the sky, and that's when the Milky Way is most intense: http://homepage.ntlworld.com/mjpowell/Astro/Sgr/Find-Sagittarius.htm
In simple terms, it highest around midnight around July 22, two hours later per month earlier (2am in May), two hours earlier per month later (10pm in August). So really your best shooting will be on days near the new moon dates, and preferably within 7 weeks or so of July 22.
So lets assume you go out on the right night, shoot south towards Sagittarius, capture a RAW file with some stars showing, and maybe you can barely make out the bright stripe of the Milky Way and its slightly more dense center.
Well, if you were in a darkroom... how do you lighten the Milky Way while keeping the background sky dark? The simple answer is dodge and burn... selectively darken some areas while lightening others!
 In +Adobe Photoshop Lightroom (download a 30 day trial if you don't have it already, AFTER you collect some images to process) use the paintbrush tool (under the Develop module) to select and lighten the area around the Milky Way. Use the paintbrush tool to darken the sky everywhere else (this makes both the Milky Way and the stars pop).
To do even better, you can also increase contrast while performing these functions, further darkening background light levels, including noise. Adjust exposure and brightness so the fainter stars in the Milky Way get brighter while background and noise gets dark. You can increase saturation slightly on the Milky Way, but increasing contrast has that effect already, so you might not need to.
 |
| NASA satellite launch over the California Coast |
Lightroom can also selectively adjust saturation and brightness of individual colors. If you shoot too close to sunset and "blue hour", or during a too-bright moon that is too full (and creating blue night sky), it can be handy to darken a blueish background sky to help separate that from the stars (just did that on a star trails shot). On the other hand for dark new moon skies, like you should have if you're planning ahead for Milky Way shooting, there is little or no light scattering turning the sky blue. A lot of the Milky Way stars have a slight blue tint though, so selectively raising brightness of blue can help separate them from dark background and any noise.
 |
| Perseid meteor shower in the Mojave Desert |
There are other subtle considerations of course, especially for special situations such as meteor showers, but this will get you off to a great start!
---
 |
| Milky Way arch panorama |
In many cases I offer a visit to Bodie adjacent to one of those longer workshops, so you can shoot in Bodie to start or end your trip.
If you're looking for dark places to try night photography on your own, consider anywhere away from metropolitan areas. I identify over 300 great locations for landscape photography in my new 320-page book, "Photographing California Vol. 2 - South", pictured below.
For night photography in California, focus on locations in the Southern California desert from Anza-Borrego State Park through Joshua Tree National Park and Mojave Preserve to Death Valley National Park, or on the Eastern Sierra region.
 |
| I offer author-signed copies on my Web site: www.JeffSullivanPhotography.com |
Interesting, Jeff. Thanks for posting.
ReplyDeleteThanks it's really nice and interesting.
ReplyDeleteDo you have any workshops scheduled for 2011?
ReplyDeleteWow, I love your work! Thanks for sharing it with all of us!
ReplyDeleteBest photograph !!!
ReplyDeleteThis image is awesome, but my mind cannot process that the reflection doesnt match up.
ReplyDelete