|
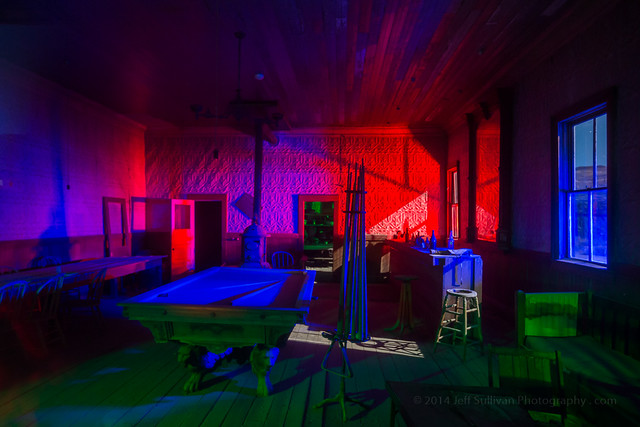
| Light painting in Bodie with partial monlight |
We open registration for our Bodie workshops bundled with both night photography instruction and morning interior access first, since we'd hate to turn away anyone who want wants both simply because one or the other filled up. Not everyone wants both however, so as space permits we sometimes are able to offer separate registration for the morning or evening session separately.
So if you'd like interior or night access to Bodie at a lower cost than both together, you can join us on May 24 as follows:
May 24 interior access (approximately 5:30 am - noon) $245:
https://www.paypal.com/cgi-bin/webscr?cmd=_s-xclick&hosted_button_id=RCQZ356GBZU2N
May 24 night photography workshop only (approximately 6 pm - 1 am) $325:
https://www.paypal.com/cgi-bin/webscr?cmd=_s-xclick&hosted_button_id=D34XKVKWDQNAJ
For more details on the workshops, including frequently asked questions on our workshops, visit this page on my Web site:
Bodie Night Photography Workshops
http://www.jeffsullivanphotography.com/blog/bodie-night-photography-workshops/
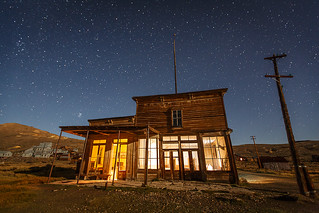 |
| Wheaton & Hollis Hotel |
Bodie Under Moonlight
https://www.flickr.com/photos/jeffreysullivan/sets/72157646890561079/
 |
| Inside the Lottie Johl House |
Bodie Interiors
https://www.flickr.com/photos/jeffreysullivan/sets/72157634013024369/
 |
| Sunset in Bodie during a night photography workshop |
Bodie State Historic Park
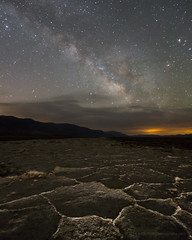
It's difficult to say whether we'll be able to open up separate registration for other nights or interior sessions in 2015, it all depends upon how registration goes as the dates approach. But I can say that May 24 is the only moonlit night we'll be in Bodie this year. Most of the other night we have booked are on moonlit nights, so we can make the most of the Milky Way.

Now in our fourth season, we're averaging 5 night workshops and 3 interior access workshops per year in Bodie. We've experienced multiple workshops in every month from May through October, with the moon in various phases and compass directions. We'll help you make the most out of your time in Bodie!
If you're interested in both the night and interior workshops together on May 24 with a small price break, or one of our other dates in 2015, visit our main Bodie Photography Workshops page for information and to register.